Installing Oracle Linux 7.9 on Virtual Server (VMware 15.5)
- Ekrem Oğuz ŞAHİN

- Nov 23, 2021
- 2 min read
Updated: Nov 30, 2021
Hi dear friends,
We are presenting you the first post of our site. We’re going to examine installation phases of Oracle Linux 7.9 with VMware. You may download the ISO file to be installed here.

Installation phases:
· VMware configurations
· Installation of the operating system
Click on "Create a New Virtual Machine".

This part is about how we’re going to make the installation. We’re going on by clicking "Typical".

This part asks us with what we’re going to make the installation. Choose the ISO file you’ve downloaded and click “next”.

Name your virtual machine here.

This is the part where we choose disc capacity for the machine we’re installing. I choose 60 GB, you may choose a larger or smaller capacity in accordance with your need.

Now, choose hardware properties for your machine. You may adjust the properties according to your own system.


By clicking "Finish", we go on to the installation of the operating system.

In this part, we start the installation by clicking "Install Oracle Linux 7.9".

Choose the language you want to use during the installation process.

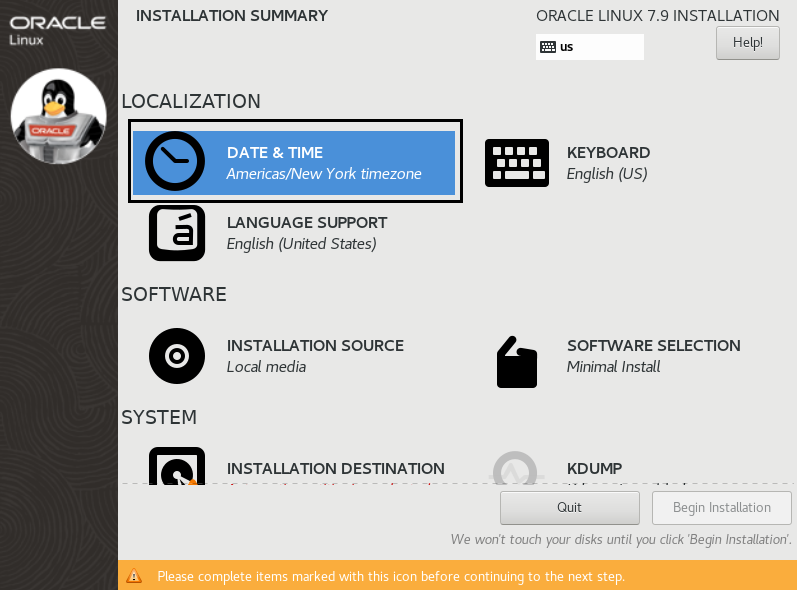
Choose your time zone.


Adjust your keyboard settings.


Click on "Software selection".

Choose “Server with GUI” and add ‘Java Platform, KDE, Performance Tools, Compatibility Libraries’ options from the other tab. Click “Done” and go on to the installation. You may specify your choices in accordance with your needs.

Click “Installation Destination”. We’re going to configure the disc by ourselves. Thus, we choose ‘I will configure partitioning’.


Set the sizes as in the Picture. When it comes to swap size, if you’re going to install Oracle database on your server, here are parameters suggested by Oracle:
· If you have 2 GB or smaller RAM, swap size should be 1.5 times larger than that. For example, if you have 2 GB RAM, swap size should be 3 GB.
· If your RAM is between 2 GB and 16 GB, swap size should be equal to your RAM.
· If your RAM is 16 GB or larger than that, swap size should be 16 GB.

Click "Done" and then click "Accept Changes" on the new tab.

Manage network settings on "Network & Host Name".

Write host name of your machine and click "Done".

We are ready to install now. Click "Begin Installation".

In this part, we choose a password for the root user and create a user for ourselves.

After we finish installation phases, in order to complete the installation we click "Reboot".

Then, we accept the license agreement.

Go on by clicking "Finish Configuration".

Your machine is ready to use, enjoy it.

Hope to see you in new posts,
Take care.


Comments